1. Install the front cushion rubber.
Tightening torque:
35 N·m (3.6 kgf-m, 25.8 ft-lb)
2. Connect the engine and transmission.
(1) Support the bottom of the transmission with a garage jack.
NOTE:
Make a space between the transmission and crossmember.
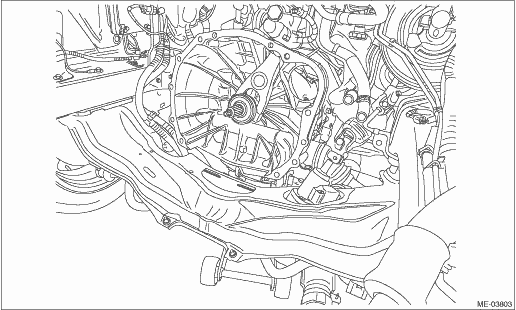
(2) Position the engine in the engine compartment and align it with the position of the transmission.
NOTE:
Perform work while making sure that the engine and vehicle body are not hitting with each other.
(3) Move the engine towards the rear of the vehicle, and match the splines of the clutch disc with the splines of the main shaft.
NOTE:
Perform work while making sure that the engine and vehicle body are not hitting with each other.
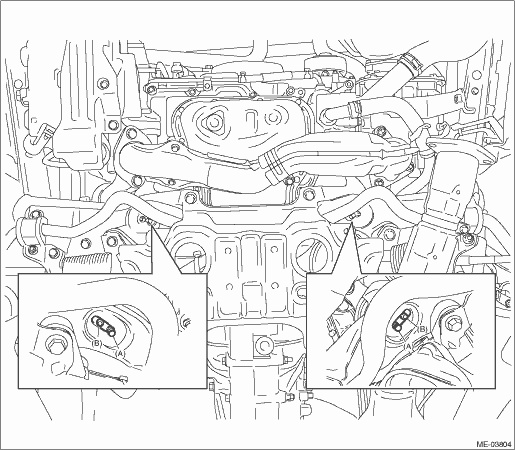
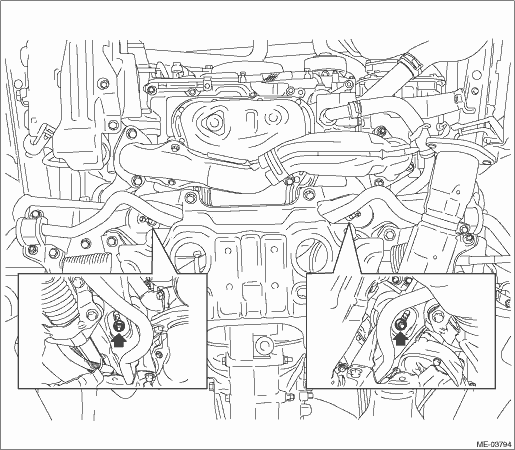
(4) Lower the lift, and match the positions of the front cushion rubber stud bolts and the crossmember holes.
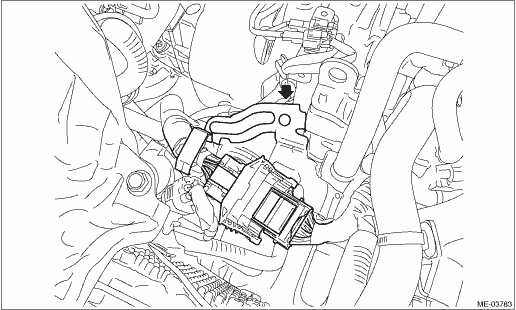
(5) Visually check that the front cushion rubber stud bolts (A) and locator (B) positions are at the correct locations as indicated in the figure.
3. Tighten the connecting bolts (upper side) between the transmission and engine.
Tightening torque:
50 N·m (5.1 kgf-m, 36.9 ft-lb)
NOTE:
Make sure there are no gaps in the mating surfaces between the transmission and engine. If there are gaps, loosen the connecting bolts, and adjust the position while retightening the bolts.
4. Connect all fuel injector connectors for all cylinders.
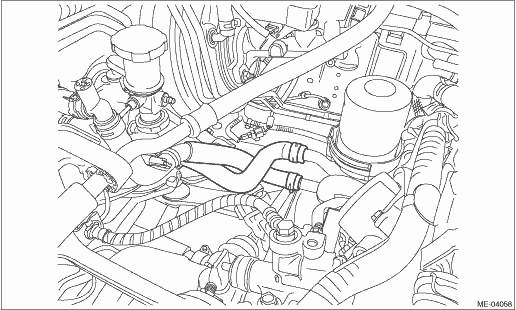
5. Attach the fuel delivery hose and fuel return hose.
NOTE:
Reversed in the case of RHD model.
Tightening torque:
1.25 N·m (0.1 kgf-m, 0.9 ft-lb)
6. Attach the heater hose.
7. Install the radiator. 
8. Install the radiator main fan motor assembly.
9. Install the radiator sub fan motor assembly.
10. Install the reservoir tank.
11. Connect radiator inlet hoses LH and RH to the radiator.
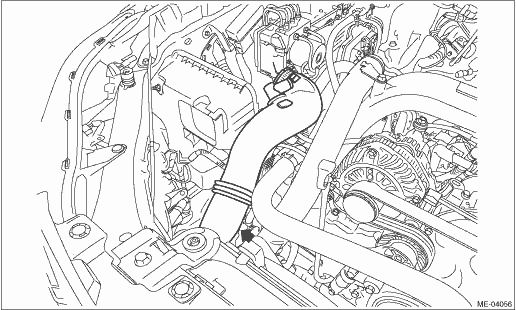
12. Attach the air intake boot bracket.
Tightening torque:
15 N·m (1.5 kgf-m, 11.1 ft-lb)
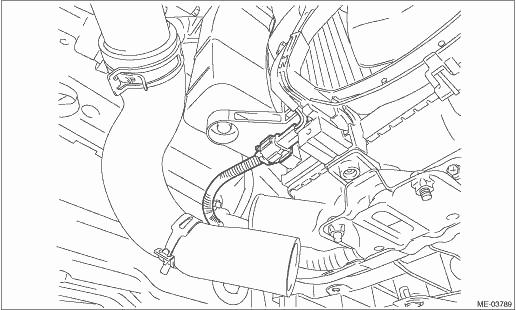
13. Install the air intake boot and connect the air breather hose.
Tightening torque:
7.5 N·m (0.8 kgf-m, 5.5 ft-lb)
14. Lift up the vehicle.
15. Tighten the engine mounting connecting washers and nuts.
Tightening torque:
85 N·m (8.7 kgf-m, 62.7 ft-lb)
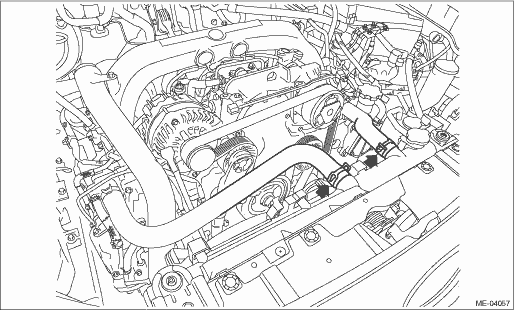
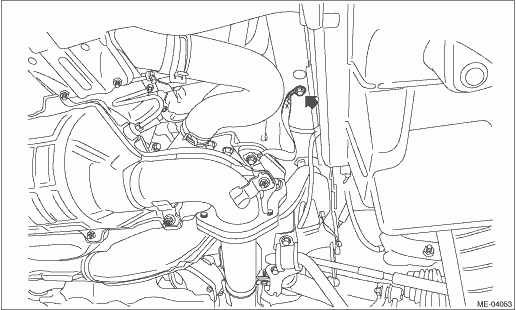
16. Attach the exhaust manifold (RH), turbocharger, and exhaust manifold (LH).
17. Attach the connecting bolts and nuts (lower side) between the transmission and engine.
Tightening torque:
50 N·m (5.1 kgf-m, 36.9 ft-lb)
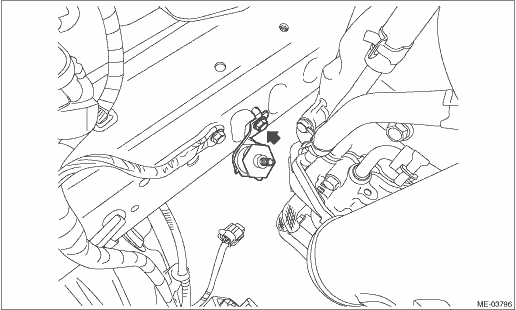
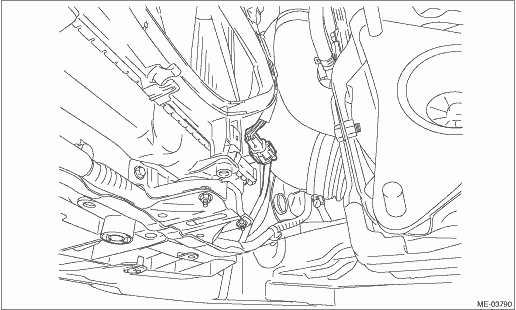
18. Attach the engine ground (RH) to the frame.
Tightening torque:
7.5 N·m (0.8 kgf-m, 5.5 ft-lb)
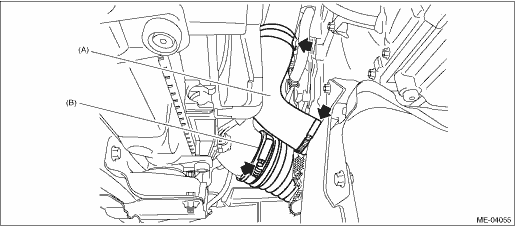
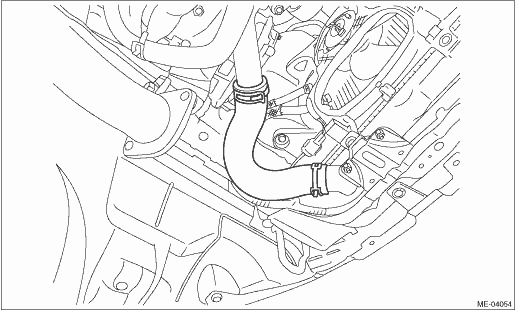
19. Attach the air intake duct and air intake boots.
Tightening torque:
Air intake duct
3 N·m (0.3 kgf-m, 2.2 ft-lb)
Air duct hose
5.5 N·m (0.6 kgf-m, 4.1 ft-lb)
|
(A) |
Air duct hose |
(B) |
Air intake duct |
20. Connect the radiator main fan and radiator sub fan connectors.
• Radiator main fan
• Radiator sub fan
21. Attach the radiator outlet hose to the radiator.
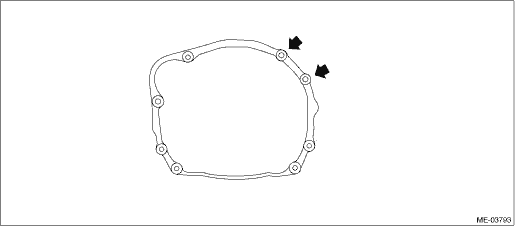
22. Install the catalytic converter and DPF.
NOTE:
Use a new gasket.
23. Attach the engine ground (LH) to the frame.
Tightening torque:
7.5 N·m (0.8 kgf-m, 5.5 ft-lb)
24. Lower the vehicle.
25. Connect the brake booster vacuum hose.
26. Attach the starter harness and engine ground bracket, and the fuel return pipe bracket.
Tightening torque:
13 N·m (1.3 kgf-m, 9.6 ft-lb)
NOTE:
On RHD model, attach the starter harness and engine ground bracket.
27. Install the starter body and connect the terminal B and terminal S connector.
Tightening torque:
Terminal B
10 N·m (1.0 kgf-m, 7.4 ft-lb)
Starter
50 N·m (5.1 kgf-m, 36.9 ft-lb)
28. Attach the air duct hose to the throttle body.
Tightening torque:
5 N·m (0.5 kgf-m, 3.7 ft-lb)
29. Connect the engine harness, then attach the engine harness bracket.
Tightening torque:
19 N·m (1.9 kgf-m, 14.0 ft-lb)
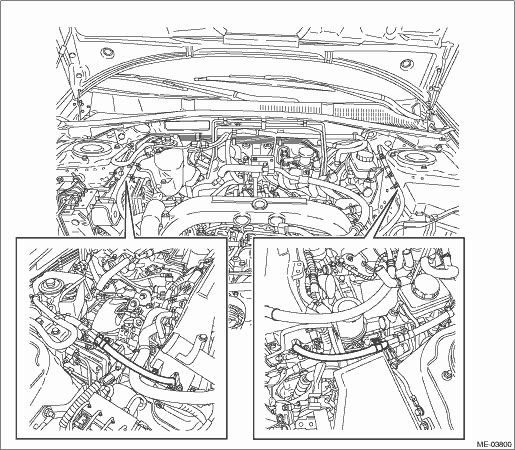
30. Connect high and low pressure pipes to the A/C compressor, and fill the A/C system with refrigerant.
31. Install the intercooler stay and the intercooler.
32. Install the air cleaner case (rear) and the air cleaner element.
33. Install the air intake duct (rear).
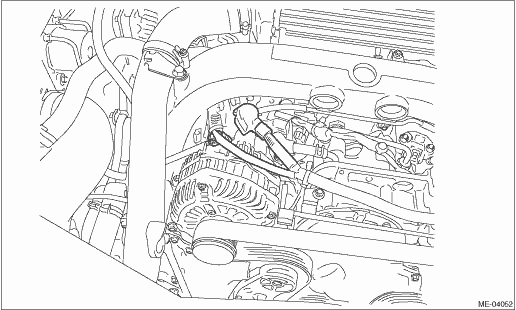
34. Connect the generator harness.
(1) Secure the harness to the collector cover bracket.
(2) Connect the connector to the A/C compressor.
(3) Connect the connector and B terminal to the generator.
Tightening torque:
15 N·m (1.5 kgf-m, 11.1 ft-lb)
35. Install the battery.
36. Fill with engine coolant, and perform air bleed.
37. Lift up the vehicle, and make sure that there are no engine coolant leaks.
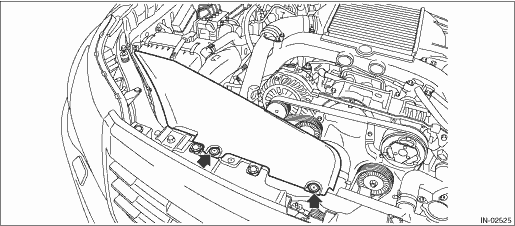
38. Install the collector cover.